

What could be better than a new technique that was actually not new at all? What on earth am I talking about?! Well the chances are that marlisle is just that for many of you… If you already know how to knit and purl, and you’ve done stranded colourwork before, then the components of marlisle will all be familiar to you. So this month you don’t actually have to learn anything new – rather you are putting together the skills you already have, in a new way. Marvellous!
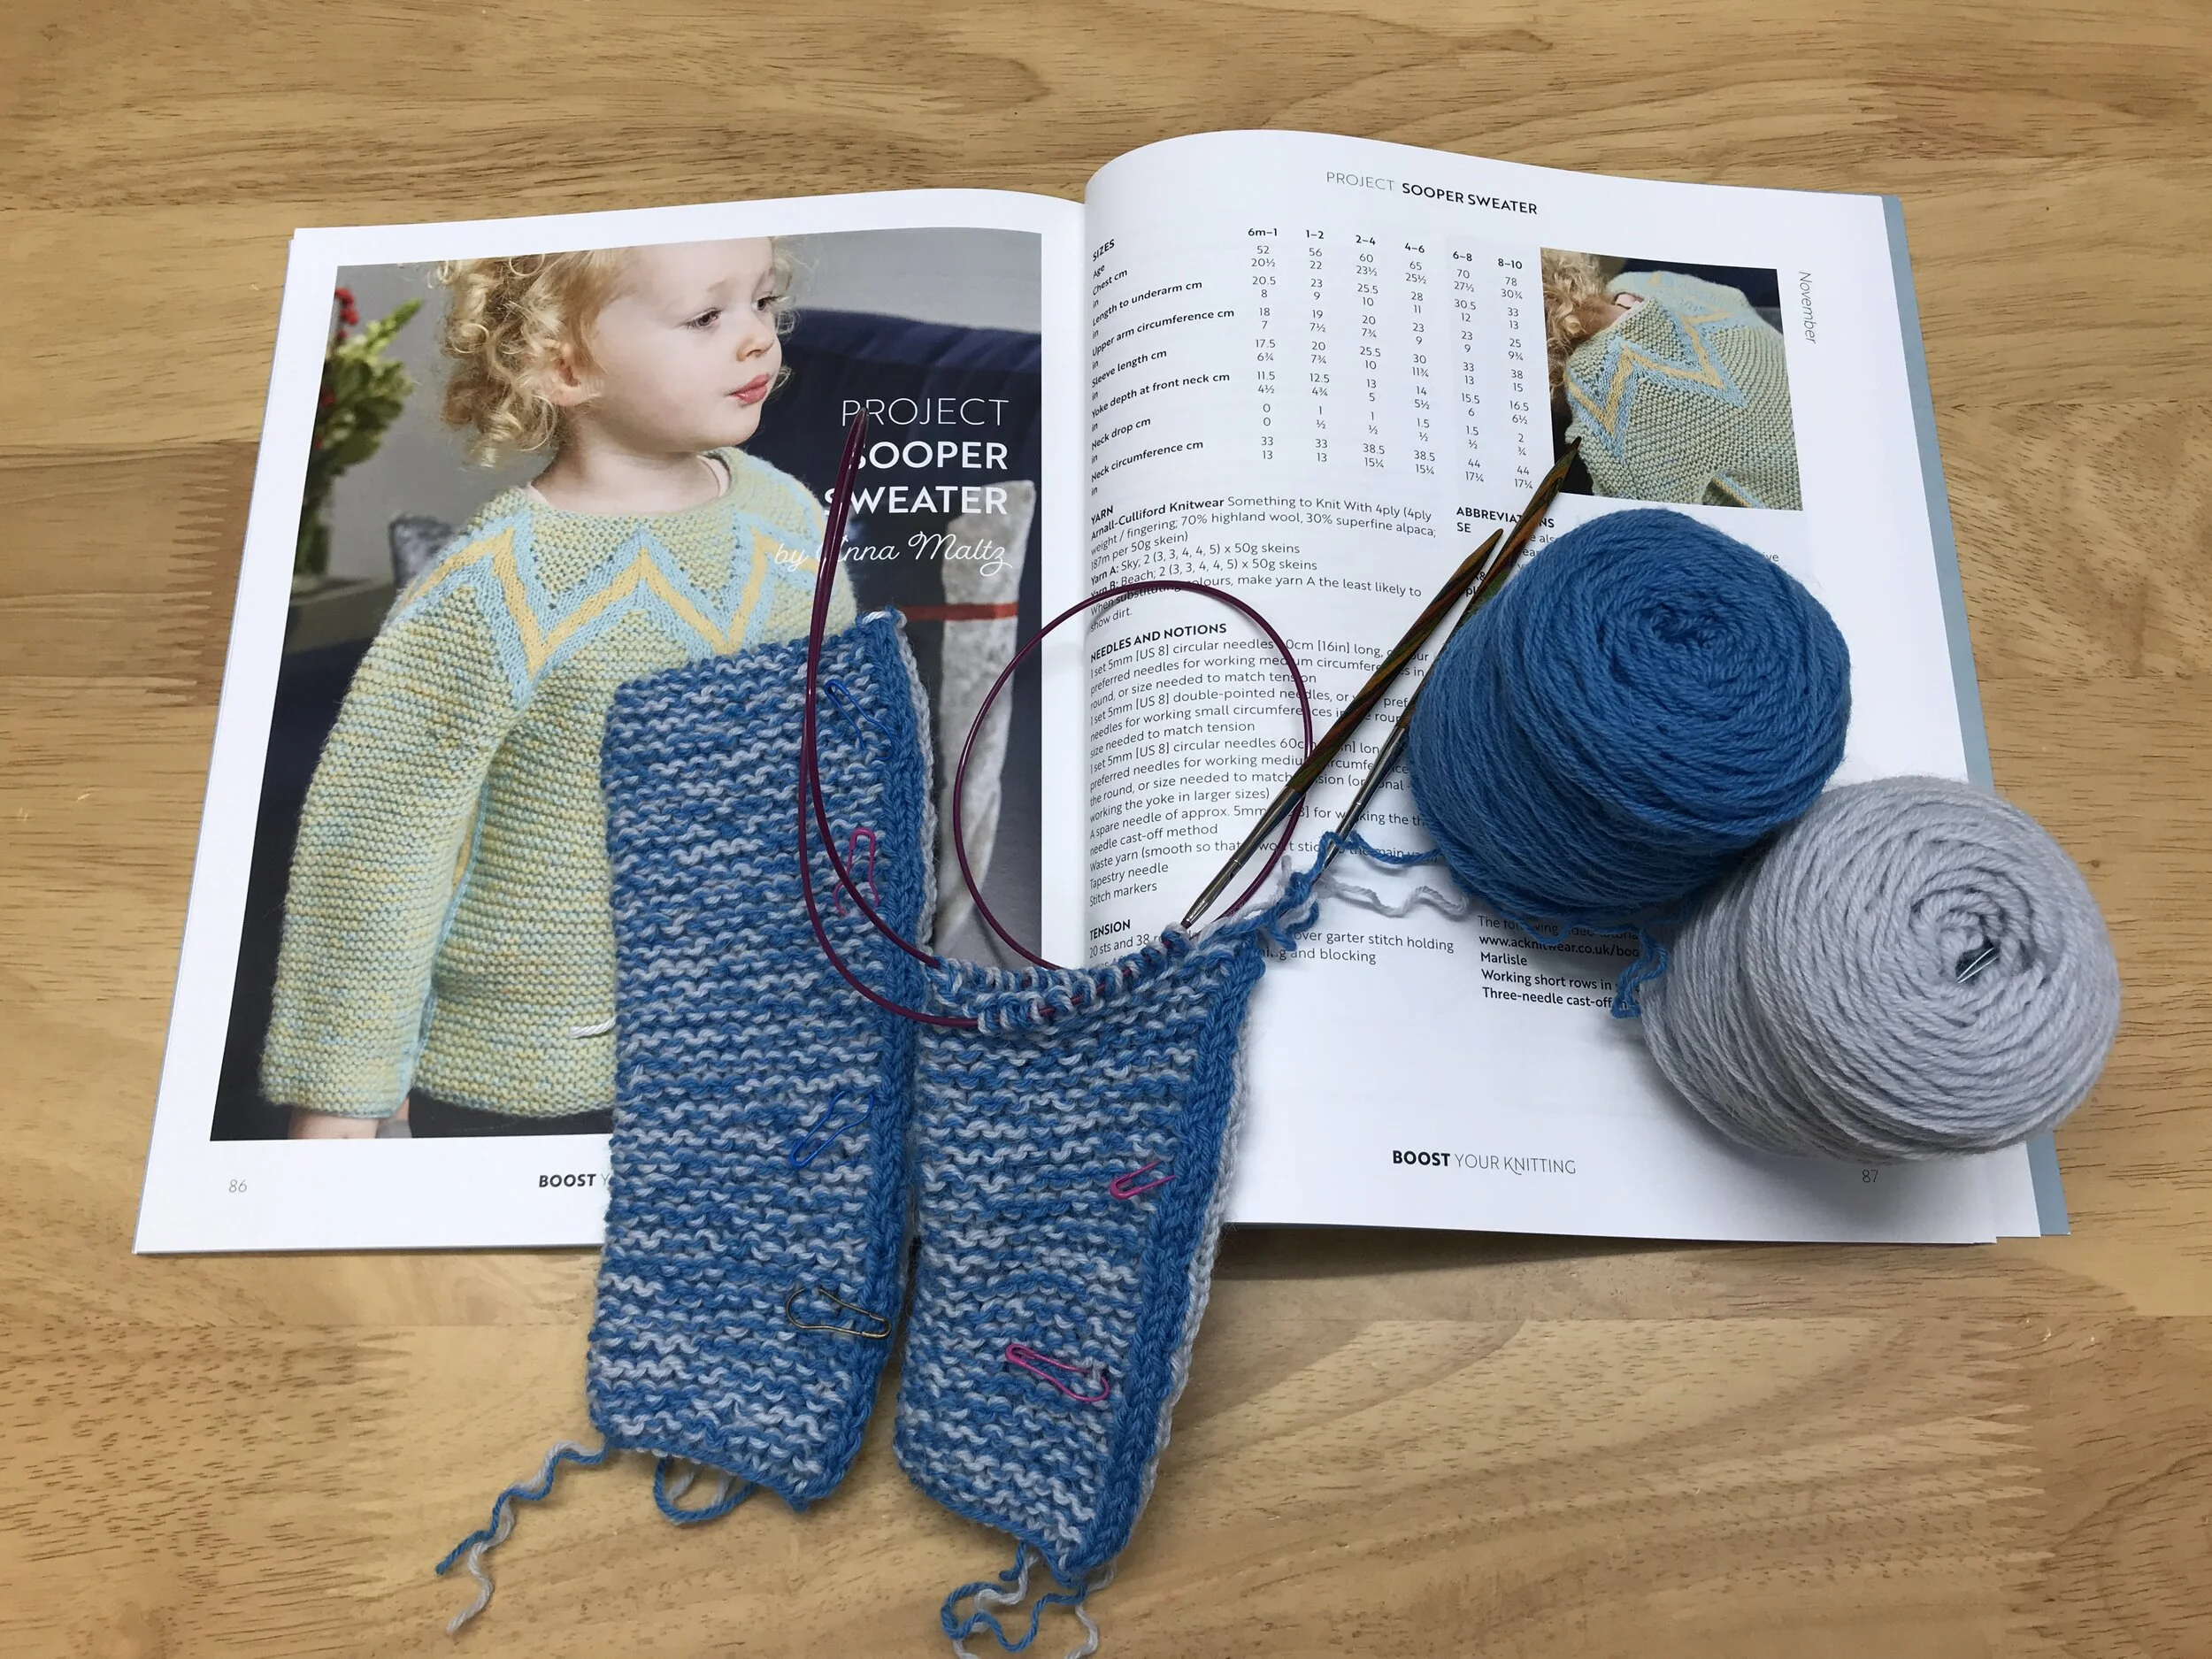
I have rattled through the first sleeve of my Sooper Sweater and I’m well on the way through the second. Anna Maltz’s wonderful design is so much fun, and it would be a total pain to achieve that zig zag yoke with any other technique.
Whoosh!! That is the sound of my needles zipping through the sleeves. And this is the absolute joy of knitting for small people. They are so SMALL! Each sleeve is just an aperitif. The body will be less work than a hat, and before I can blink, I’ll be on to that luscious YOKE!
Two of my favourite knitting tips are in evidence here…
The first is to start a garment with a sleeve. Once you’ve done enough knitting to be representative, wash and block your sleeve (on waste yarn so that your needles don’t get wet!), and measure the tension (US gauge). What matters most in a project is your finished tension in that project. It may also be worth measuring your tension again when you work the body, just to check that you’re getting the same as on the sleeves. Many, many people knit small diameters differently to larger ones, so do check!
And the second tip is to use locking stitch markers to remind you when you worked the last increase (or decrease) round. In a project like this with a garter stitch base, it’s super simple to count the ridges (each ridge is 2 rounds) so that you can see when the next increase is required. I love my colourful Cocoknits Opening Stitch Markers, but any type of marker that can be added and removed from the fabric at a later date is suitable. You could also use a running thread, like I show in this video, but on this project the markers were closer to the sofa than my waste yarn. Don’t you love that there are so many ways to achieve the same outcome in your knitting? I do!
Here is our tutorial video on the marlisle technique. I walk you through how to work the decorative seams and general marlisle knitting, as well as a nifty increase that is almost invisible. I hope you find the video helpful.
If you would like to join in with this month’s marlisle knitalong, then do head over to our Ravelry group, where you will find lots of enthusiastic knitters waiting to cheer you along with your projects! You don’t have to be making the Sooper Sweater – any design using the marlisle technique is absolutely fine with us. So head on over and join the fun.
I’ll be back shortly to share some more beautiful marlisle designs that might tickle your fancy…